Category Archives: Camp Cooking

One of the best parts about camping is the great tasting food. Eating well at camp is really gonna change the whole mood of your trip.

Eight Camping Food Brands To Try This Year

When it comes to camping food, we usually grab the usual Mountain House or Back Packer’s Pantry. While we have started branching out with the likes of Alpine Aire, Peak Refuel, and Omeals to name a few, we are always on the lookout for something tasty. These are the eight camping food brands to try this year!

  1. Next Mile Meals – This brand started out when the owner wanted to be Keto while on the trail. They offer wrap fillings like Deli Roast Beef and Buffalo Style Ranch Chicken to heartier meals like Chicken Broccoli Casserole and Italian Beef Marinara. These are a little pricier at $14 a package( which is one serving) and few, but tasty-looking options.
  2. Outdoor Pantry – I want to eat everything Outdoor Pantry has to offer. There are a variety of offerings from unique meals like Beef and Lamb Gyros and Chicken and Waffles; to the classics like Beef Stroganoff and Biscuits and Gravy. Outdoor Pantry also has snacks like freezer dried pumpkin pie slices and chees curds. Prices range from $4.99 to $14.95 to fit any budget, Outdoor Pantry is a good fit for the adventurous.
  3. Packit Gourmet – Packit Gourmet is a family-owned operation based out of Texas and one of the most appealing things about this brand is that they have snacks. Meals range from All-American Works Burger to TexMex Breakfast Tacos. The assortment of snacks, drinks, and desserts are great too – Queso, Margaritas, and Cheesecake. Pricing per package ranges from $5.99 to $13.99.
  4. Cache Lake – Cache Lake has some delicious-looking meals, but you have to put in the work – there is no adding water to a bag and waiting ten minutes here. However, Cache Lake is the most affordable on the list – some meals come in at $2.50 for a 2 serving package. Cache Lake’s most appealing offering is definitely their Fryin’ Pan Bread with flavors like caramel, pizza, garlic, cinnamon, and more. Don’t forget to check out their entrees either and finish off with banana cream pie.
  5. Wise Food – This is the most affordable make-in-a-bag meal on the list – $8.49 a package which is two servings. Wise Food has all the usuals like Chilli Mac, Alfredo and Creamy Chicken Pastas. Being on Amazon also makes ReadyWise more available to consumers.
  6. Back Country Cuisine – This brand is from New Zealand and offers meals like Creamy Carbonara, Honey Soy Chicken, and Lamb fettuccine at their $9.49 price point. Back Country Cuisine also offers some gourmet options like Coq Au Vin and Lamb Risotto at $15.95. If looking for a sweet treat there is always Banana Smoothie or Carrot Cake with Custard.
  7. Bla Band– This is a Scandanavian brand. Bla Band offers Make-in-Bag meals like Taco Stew, Beef and Potato with Bernaise, and Wilderness Stew with Rice. While Ready to eat meals like Swedish Meatballs with Creamy Potatoes and Pasta Carbonara are also some things Bla Band offers. Prices are also reasonable from $4.38 to $8.67. These meals seem hearty and comforting.
  8. MaryJanesFarm – This brand is organic and another small business where recipes are perfected at home. MaryJanesFarm has everything you could want to eat in a day: hot cereals, fry bread, chili mac, and even peanut butter blondies to finish. The prices are reasonable for organic starting at $5.36 a serving.

Why These Eight Camping Food Brands

These eight camping food brands offer a unique selection of meals on a variety of budgets. There is a food or snack option on this list for anyone, vegetarian or not. Let us know in the comment section down below if you have tried any of these brands or meals listed here! Which one was your favorite? Which one should make it on the next Caroline’s Taste Test?


Top Five Mountain House Meals

I love Mountain House, so much that coming up with my top five Mountain House Meals was a difficult task. Mountain House Meals are quick and easy to make, as well as clean up. Not only that but they are delicious and sometimes a warm meal is just what you need. Here are my top five Mountain House Meals.

  1.  Lasagna with Meat Sauce – The noodles are cut into bite-size pieces so you don’t have to try and break up the lasagna in the pouch. Mountain House’s meat sauce has good chunks of ground beef and isn’t too tomatoey. Also, one can’t go wrong with melty mozzarella cheese. Mountain House’s Lasagna with Meat Sauce is sure to be a favorite.
  2.   Biscuits in Gravy – Number two comes in with this hearty breakfast staple that is sure to fuel you for outdoor adventures. The gravy has a perfect creaminess to compliment the soft biscuits.
  3. Chicken and Dumplings – Something about a warm, creamy sauce over some type of bread just makes for the ultimate comfort food. The Moutain House Chicken and Dumplings are also loaded with vegetables to help round out the meal.
  4. Chili Mac with Beef – Chili Mac with Beef is a classic, and for good reason too. Mountain House’s Chili Mac with Beef as a spicy tomato sauce that adds some good flavor to the noodles with big chunks of ground beef. This one is sure to please everyone on your camping trip.
  5. Chicken and Mashed Potatoes – This is another classic, and simply is what it is – chicken and mashed potatoes. It’s a good comfort meal for a cold night, delicious, and warms a person right up. This Mountain House meal is also gluten-free, for those with dietary restrictions.


These Mountain House meals are all classics, but Mountain House is always coming out with new flavors. Let me know in the comments what your favorite Mountain House meals are, or if there’s another brand you want us to check out.


Canning for the First Time – What I Wish I’d had.

Today was my first time canning. I’m going to share with you what I wish I had for this adventure.

The Decision to Can

I made pepper jelly and canned it today. I have never canned anything in my life, nor have I ever made jelly! Dehydrating – yes, but canning – no! Christmas is upon us though, and nothing feels better to give than something you made yourself. To say I was unprepared would be an understatement, ha. I’m going to share my experience, and then share somethings that I wish I had had to make my first time canning easier.

This whole jelly project started with a game our family plays for Christmas, and we always play a round where the gifts up for grabs are homemade.  I’ve always wanted to can, but never really had a reason. Also,  I really don’t know too much about it.  The family likes pepper jelly with cream cheese and crackers though, so I thought “Heck, let’s go all-in!”

I picked up a box of Mrs.Wages pepper jelly kit, which seemed like the easiest route to introduce myself to canning.

Picking Up Ingredients

At my local grocery store, I picked up 8 green bell peppers and 2 beautiful, red bell peppers. I figured I had everything else at home. Fast forward to this morning, I wake up, super pumped to make this jelly. I start chopping the peppers and throw them in my food processor (which I had luckily just received or I’m not sure what I would’ve done, ha.) Everything is going well until I need to strain the juice from the pepper puree. Cheesecloth is not something I have at home, and paper towels would soak up too much of the juice. Kory saved the day with a bandana and I was able to get my 5 cups of juice! Cheesecloth is definitely something I will be keeping on hand from now on.

Now I’m at the part where I am supposed to be adding the lemon juice, vinegar, and packets from the Mrs.Wages kit. Vinegar…where is my vinegar?! I could’ve sworn I had some, after looking high and low I was clearly out. So, another run to the grocery store. I pick up beef sticks while I’m there, to make sure I have the strength to get through this.

I’m Actually Canning

Finally, I can really get started. I add my pepper juice, lemon juice, vinegar and the jelly packets to the saucepan and mix. Then I need to warm up my jars, so I make a small water bath in my largest stockpot. While my stockpot did work for this, a canner would be a better fit. Because a canner can hold more water and come with a jar rack. Jar racks are for keeping the jars off the bottom of the pot where the most direct heat is.  Keep jars away from direct heat so they don’t accidentally shatter from getting too hot.


I get my first 5 jars (my stockpot only held 5 half-pints at a time) into the hot water with my trusty tongs and boil for five minutes. Using tongs was definitely tricky and I was wishing I had a jar lifter. Jar lifters are created to get jars in and out of hot water safely. Using tongs is something I will NEVER do again, and I’m sure my hands will thank me.


Success

I was pleasantly surprised that after all of this, my lids SEALED! As a result, I successfully canned my first batch of anything. As I am sharing my ordeal with you, my first batch of pepper jelly is coming to room temperature and 24 hours from now should be ready to eat. I am officially a canner.

I hope you laughed a little with me and enjoyed these tips I wish I had known. Please make sure to come back for future canning adventures with me!

canister stove for camping

Canister Stoves for Camping

Food is always on my mind when prepping for camping. The minute I start planning a trip, it’s usually “mmm, what are we going to eat?!” With food being such a big part of the experience making sure you are able to make it is pretty important! My favorite way to cook our food while camping, second only to fire, is a canister stove.

Canister stove for camping

Stoves for Camping.

Sure, there are many types of stoves: alcohol, canister, solid fuel, woodburning and even solar-powered. Each fuel type has its pros and cons, which is a lot to unpack and we will save that for another day! Today, we are going to dive into canister stoves, and what makes them a great choice for your outdoor kitchen!

Space Saver

Canister stoves can be packed inside things already packed, such as a pot! This means you don’t have to find the room for a cooking container and a stove. A built-in perk to this (as if having more room in your pack wasn’t enough!) is that when prepping for a meal, just pull out the pot and the portable kitchen is ready to go!

Weight

We all know that space and weight are two things that are highly treasured when it comes to your pack! Canister stoves along with their space-saving convenience, are lightweight! A great stove when weight is a big concern is the BRS 3000T! This tiny stove heats quickly. The BRS 3000T is small, light, and also has three pot support legs with teeth that do a great job stabilizing pots.

Convenience

Honestly, this is the category that makes the canister stove a real winner for me. Canister stoves are so easy to use! All that is needed is the stove and the fuel canister. A great starter stove is definitely the Etekcity, this stove even has a piezo ignition so you don’t HAVE to carry a lighter (even though it’s always good to have one on hand!) Another perk to drop in the convenience category is that when it is raining, you can actually put this stove inside your vestibule. Ensuring a nice warm meal in the wet and chilly rain.

Cons

Everything has a con to balance out the pros, and the canister stove is no exception. There are three major cons that come along with canister stoves:

  • There can be issues with stabilizing the pot/pan that you are cooking with.  The pot/pan can make it unstable depending on what size they are and the weight that added to the pot/pan. Generally, pots are easier to stabilize on this stove type. Issues can be avoided by knowing beforehand what will be prepared on the stove, finding a flat spot to place the stove, and above all paying attention.
  • One downside to a canister stove is that the canister is a set amount. The amount cannot be adjusted for longer trips, to compensate you will need to bring another canister. Which takes away from the space-saving advantage.
  • Canister stoves can also be finicky when the temps drop below freezing. This fuel type is not ideal when winter camping, as it is not reliable to give flames. Winter camping is when reliability is non-negotiable.


Canister Stoves are a Great Choice for Camping

While canister stoves have their cons: stability, set amount of fuel and not being ideal for winter the pros balance these out. You can also compensate these cons by planning your trip so you are prepared with the right amount of fuel, know what the temp will be and having the right pot or pan for the job!  The overall size and weight, and above all convenience of a canister stove cannot be beat!

canister stove for camping

Make sure to share stories of using your canister stove, as well as recipes down below!


Dehydrating Ground Beef – Easy and Cheap!

Dehydrating ground beef is a super easy way to save money when you are an avid hiker or camper. Because let’s face it getting freeze-dried meals and meat for every outdoor endeavor can get pretty pricey. Your wallet can breathe today though because I’m going to share my recipe for dehydrated ground beef with you today.

Dehydrating my own ground beef was something that I always put off because I thought it would be so time-consuming. Turns out, it’s really not. When making a meal with ground beef, just cook up an extra pound or two that you can put to the side to dehydrate, and boom! the hardest part is over. The recipe below is for one pound, just double for two pounds. Check out the video here!

Dehydrated Ground Beef

Ingredients

  • 1 lb lean ground beef (you should look to 90% or higher because the fat will cause faster spoilage.)
  • 1/2 cup bread crumbs

That’s it!

Directions

  1. In a bowl, mix together your bread crumbs and hamburger. The breadcrumbs are going to help keep your meat soft once it rehydrates, so it’s not hard like gravel. I like to use plain bread crumbs because I never know what I will be adding my hamburger too, so I don’t want it preseasoned. You can definitely add Italian breadcrumbs if you like though. Mix together really well so you can’t see the breadcrumbs.
  2. Add your hamburger mix to a hot skillet and cook like normal. Make sure it is cooked all the way through.
  3. Drain the fat off the hamburger. Again, fat will go rancid first, so the less fat the longer your beef will last.
  4. Put hamburger in a colander and rinse with hot water, just to be sure you got as much fat as you could.
  5. Pat the hamburger dry with a paper towel and get out as much water as you can.
  6. Line your dehydrator trays with parchment paper, this way you won’t have hamburger falling out into the bottom of the dehydrator.
  7. Set your dehydrator to 165 degrees. It takes about 8-10 hours to dehydrate, but I always check on it at around 6 hours.
  8. Once it is hard and crumbly, it’s done!

This is super easy and will last for a few months stored in a ziplock bag. Rehydrate and enjoy in tacos, chili or whatever else you can come up with! Make sure to check out other camp cooking here!

Dehydrated Apple Chips

Everyone loves a sweet snack for the trail, but you want to make sure that you aren’t going to crash – the answer is apple chips! Today I am going to share with you my super easy dehydrated apple chip recipe.

You will need a dehydrator I recommend either this one by  Hamilton Beach if you won’t use it frequently and would like a budget option, or the Cabela’s heavy-duty dehydrator for a lot of use.

3 lbs of apples – these need to be apples that you like eating as a snack, this will be the main flavor of your apple chips. I suggest using Jazz apples. They are a good balance of sweet and tangy.

2 TBS cinnamon (optional)

Two ingredients?! So simple!

Alright, now it’s time for the dirty work, we need to core the apples and it gets messy so be prepared. Once you have your apples cored, you’re going to slice them up and lay them out on your dehydrator tray. Make sure that the slices are not touching. At this point, some people put lemon juice on the apple slices so they don’t brown, I honestly never do this. I do however LOVE lightly sprinkling the apple slices with cinnamon, it tastes great and your house will smell awesome.

Load your trays into your dehydrator and set it for 165 degrees! Check back in 5 hours and see if the chips are done to your liking, I find that 7 hours is where my family enjoys the apple chips best! There you go, enjoy!

Waiting for more recipes? Check out our camp food reviews here!


Best Camping Stove for Cooking in the Woods

I am an avid foodie and that does not stop when I am spending time in the woods, so I often question:  What is the best camping stove for cooking in the woods? Food is something that brings us all together and creates memories with each other, so it’s important to be able to cook the food you want and enjoy the best taste. There are four main stove types when cooking in the woods Alcohol, Wood, Canister and an old-fashioned Fire Grate.


Alcohol Stove

These are a good, light-weight option to take with you on your trek through the woods. There are many different styles of stoves for this fuel type, you can even easily make one yourself out of a pop can! Esbit makes one that has a great snuffer ring, however, this version does not come with a pot stand, you need to buy this separately. Pathfinder school, on the other hand, has a snuffer ring that doesn’t seal tight so you can potentially burn yourself. The Pathfinder is my favorite for this fuel option, it has larger fuel storage and comes with a pot stand that fits snuggly around the base.  Both the Esbit and the Pathfinder School have a secure cap to ensure your fuel doesn’t spill out all over your gear, while you need to carry fuel in a separate container with a DIY version.

  • Pros: Fast for boiling water, good for burn bans
  • Cons: Not the safest, Might not come with pot stand, Easily Spilled, Cannot adjust the flame


Wood Stove

Wood Stoves are awesome for bringing in the woods because they run on kindling, and in the woods, you are surrounded by kindling! These come in three parts that slide into each other for a compact stove. You slide the pot stand out of the ash box and then set into the air intake base. This is a great system, but not recommended for beginners. You do not want to rely on creating a fire with wood if you are inexperienced and should at least bring another fuel type as a backup.  Nulipam is the brand we use when using a wood burner for our primary fuel type. This stove set up is nice because the pot stand fits a pan, as well as a small pot, making your cooking options endless.

  • Pros: Won’t spill, Fits pans, Compact
  • Cons: Can be hard to get a fire going or to keep it going, Cannot adjust the flame

Canister Stoves

Canister stoves are by far my favorite when it comes to portable fuel stoves! These are light-weight, safe from spilling and you are able to use them when there is a burn ban out in the woods. There are two main types I use – both are the burner type, however one is Piezo Ignition (you will not need a lighter)  and the other is manual (you will need a lighter.) The downside is that you will have to carry the fuel canister separate, however, they have a good, sturdy build with feet that fold out, making them ideal for pots and pans without the worry of them falling over. The other thing I love about these stoves is that you can adjust the heat, so you don’t burn your eggs! When there is a fire ban the canister stove is the best camping stove for me!

  • Pros: Adjustable flame, Sturdy feet holds pots and pans, Lightweight, Safe from spills,  OK during burn bans
  • Cons: Need to carry a fuel canister separate

best camping stove - canister

Fire Grate

The by far BEST camping stove for cooking when you are out in nature is right over your fire. There are many types of grates you can buy for this such as the UCO Grilliput, which I found flimsy and hard to use, and Coghlan’s Camp Grill, which is sturdy and reliable. The material you need to start the fire is around you, so you do not have to pack in any sort of fuel.  Although it can be tricky for beginners to get a fire, this is the best way to cook while camping, especially if you have fresh food. Nothing beats a steak that gets the nice caramelized fat and smoky flavor. It is also dual purpose because once it cools down at night you can heat yourself around the fire that fed you!

  • Pros: Yummy steak, Safe from fuel spills, Holds pots and pans, Fire building material found in nature
  • Cons: Flame is not adjustable, Need to be a bit more skilled, Grate can be bulky, Cannot use this option in a fire ban


Best Camping Stove for Me

Overall my top two picks are the Fuel Canister Stoves and Fire Grates for best camping stove! Let me know what your favorite stove for cooking is below and what you make on your trips!


Budget Camp Cook Kit For Starters

This budget camp cook kit is great for starters. I was very surprised how well this budget camp cook kit worked for starters and people looking to try camping. It can also be used for preparedness and having a wood stove at the ready.

Cook Kit For Starters – https://amzn.to/2Oaxeuq

budget camp cook kit
Canister Stove – https://amzn.to/2QqoH8g

budget cook stove

Super Small Stove – https://amzn.to/2NHeJ3G

small budget cook stove

More Camp Cooking ==v

https://www.wolfpackwoodcraft.com/category/camp-cooking

Camp Cooking Amazon Store ==> https://amzn.to/2pZtf9y

Wild Zora: Hiking Food

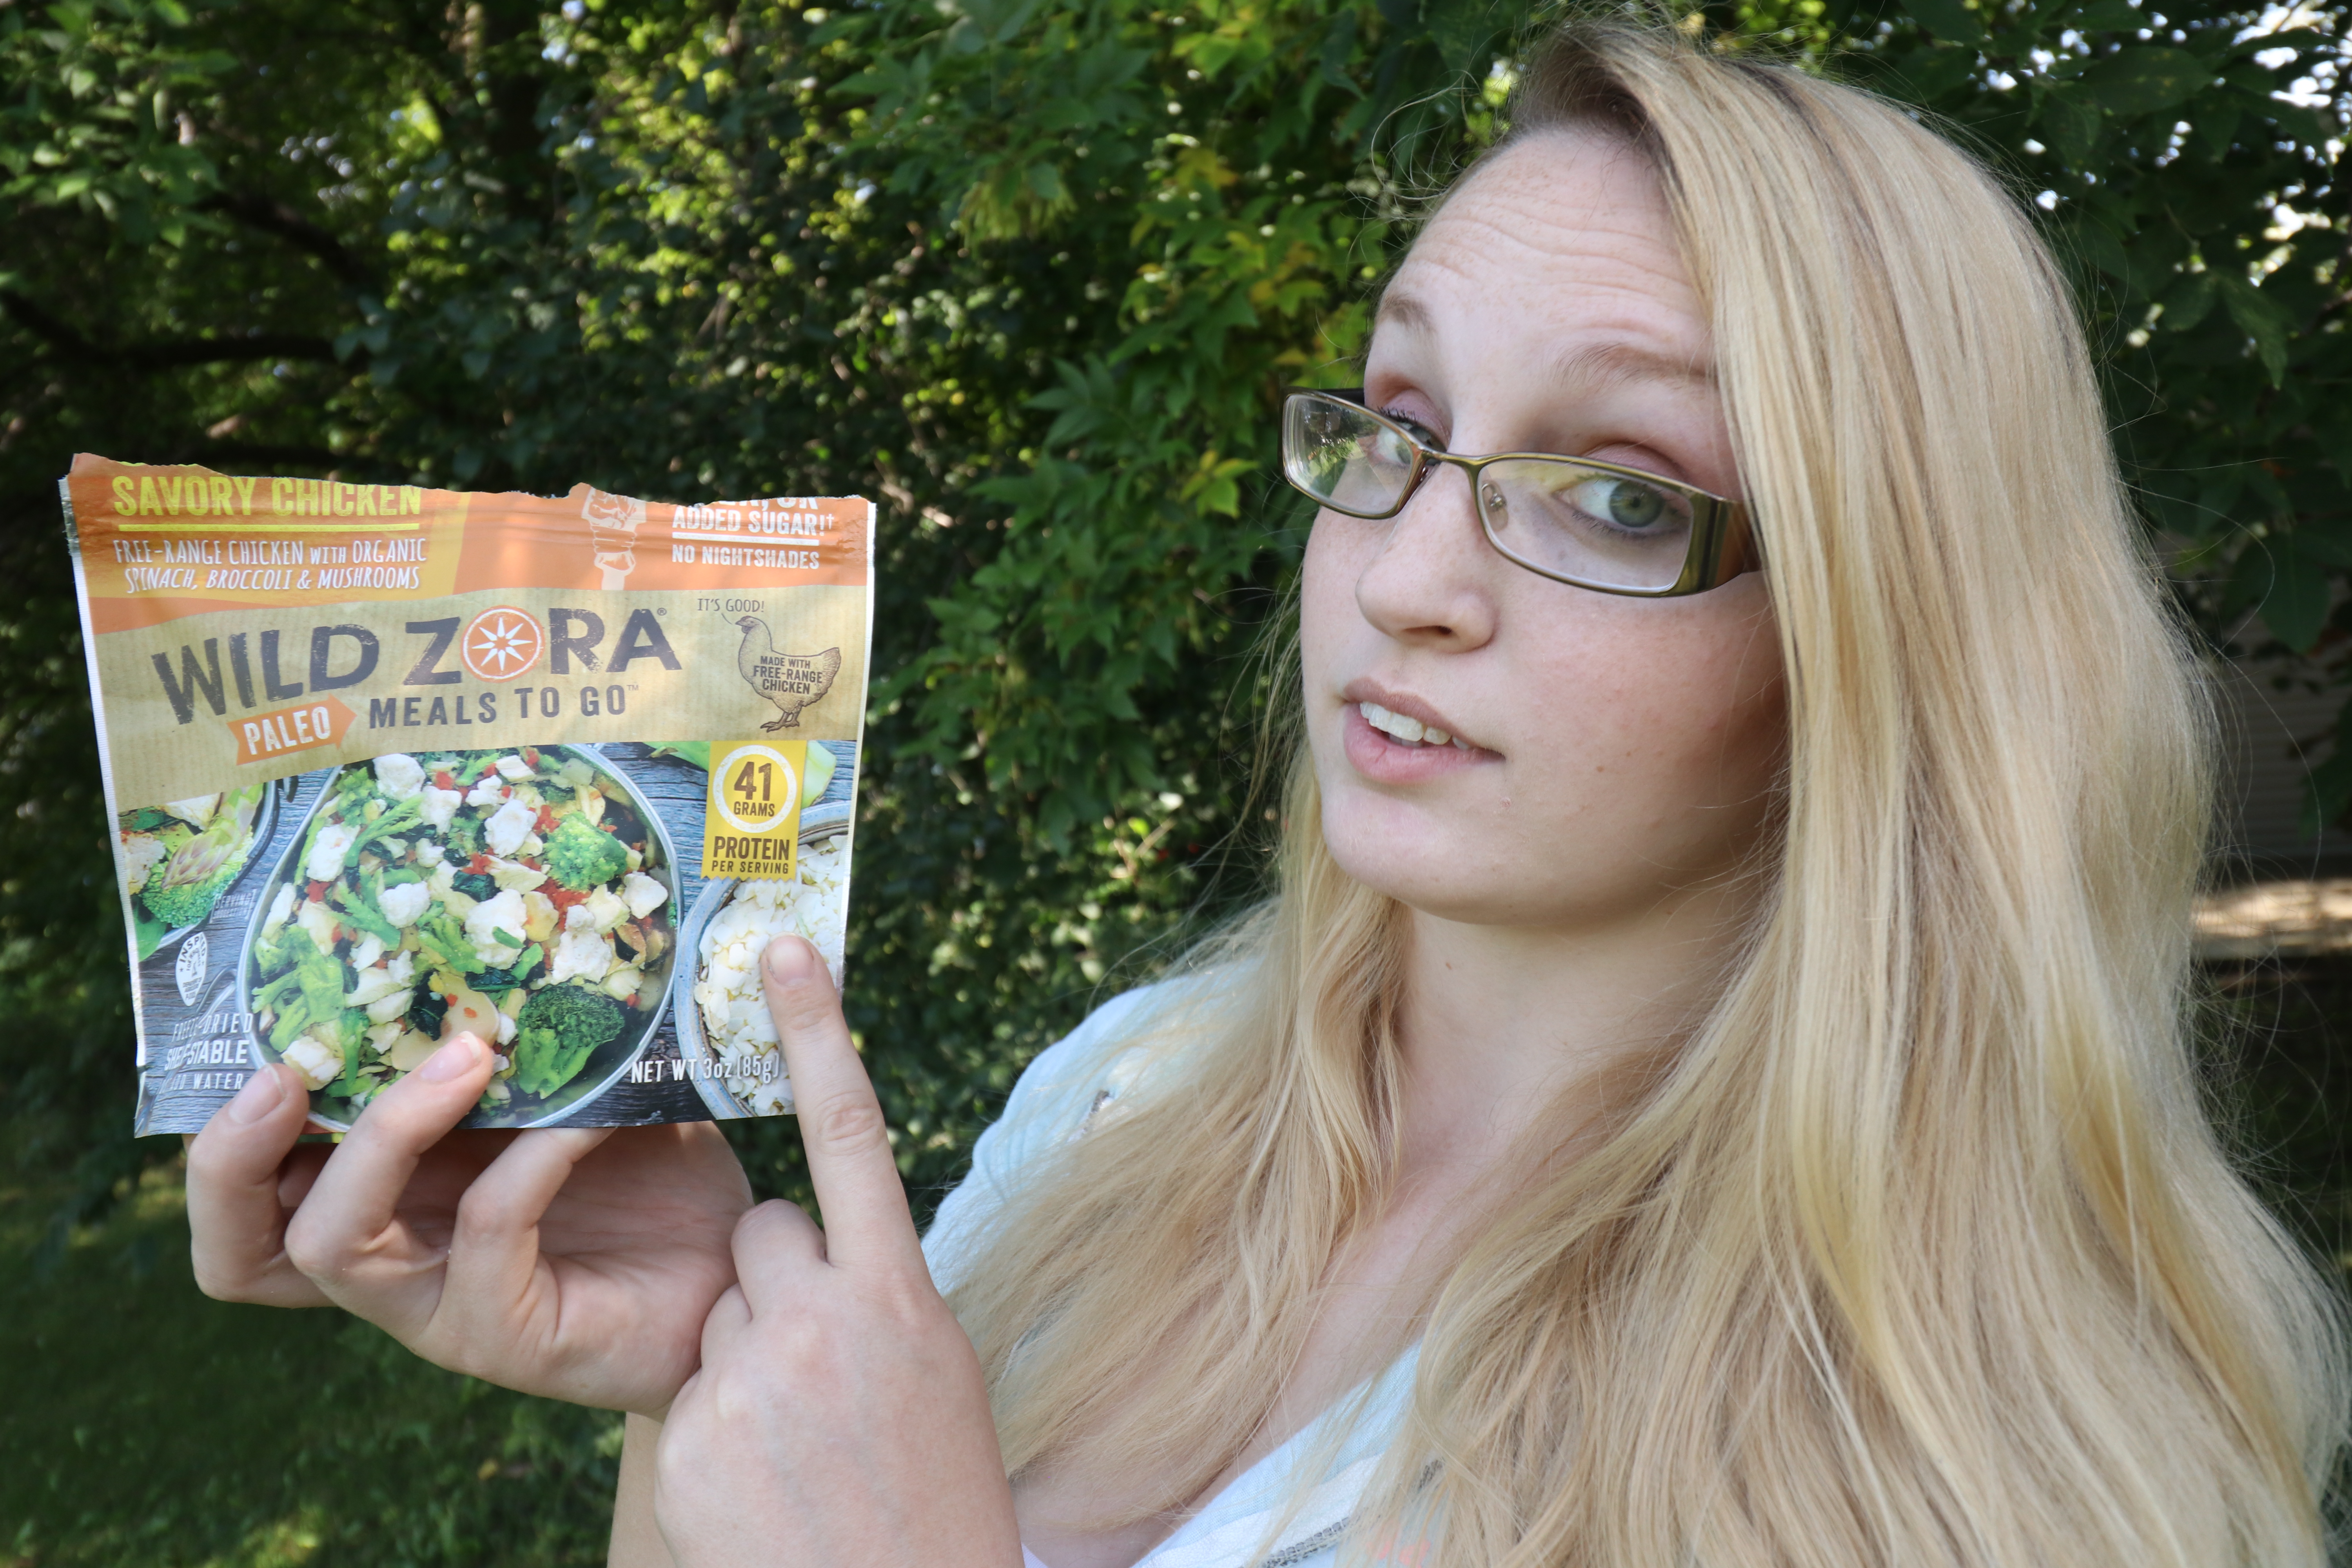
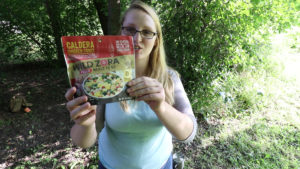
I am always trying out new, freeze-dried meals for the trail, hoping to find something great to share with you. Lately, a lot of people have been telling me they want healthier options than the standard Mountain House so I went on a mission. My search led me to Wild Zora and their Paleo Meals to Go line. I reached out and they were kind enough to send me a few to try out and share my thoughts with you. I have tried out two meals so far: Caldera Chicken Curry and Summit Savory Chicken, here are my thoughts:

Caldera Chicken Curry

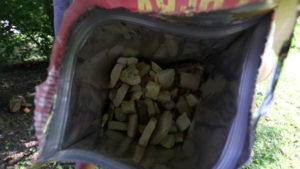
This flavor features free-range chicken, spinach and pineapple in a coconut curry. The best part of this meal is honestly the simple ingredients: Chicken, Spinach, Pineapple, Coconut, Red Bell Pepper, Sweet Potato, Onion, Green Onion, Turmeric, Cayenne, Spices, Sea Salt and Garlic. Wow, the flavor of this one is unique, delicate and tasty. Furthermore, this meal re-hydrates very well, the meat is juicy and plentiful. The spinach, sweet potato, onion, and garlic blend together very well and are mild; where the sweetness from the pineapple lingers and the cayenne spice balances out the flavors. Meanwhile, I do not taste much of the coconut, I feel the pineapple is definitely the stronger flavor. This one is my favorite between the two and features 35 grams of protein.


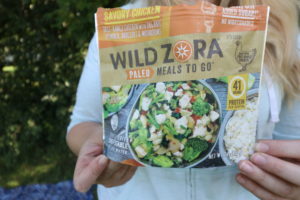
Summit Savory Chicken

The Summit Savory Chicken meal is created with Chicken, Spinach, Carrots, Broccoli, Sweet Potato, Onion, Mushrooms, Lemon, Green Onion, Parsley, Cilantro, Turmeric, Garlic and Sea Salt. Again, this meal is super meaty and that meat re-hydrates well and is juicy. Spinach, carrots, broccoli, and onion meld together in the background. Suddenly, a distinct lemon flavor sneaks through and takes over, although it is not overpowering and offers a nice transition to the lasting garlic flavor. This meal has a good, subtle flavor to go with 41 grams of protein.


Wild Zora Final Thoughts

My final thoughts on these two meals are that they are unique and healthy options for on the go; these flavors are unlike those I have seen in similar meals. However, these both re-hydrate similarly: you boil 12oz of water and add to the bag, let sit for roughly ten minutes. Although these may be more expensive than other options on the market there are a few more things to consider. The first being that they are allergy sensitive meals, meaning they are gluten, milk, nut and soy free. Secondly, this is a small company run by a mother and her son, that are putting the best ingredients they can find into these products, and that includes not using chemicals to preserve the meals. I really enjoyed both of these and hope you give Wild Zora Paleo Meals to Go a try!


This post does contain affiliate links, on which Wolf Pack Woodcraft receives a commision, thank you for your support.


Stainless Steel Pathfinder Canteen VS Water Bottle

This is a Full comparison between the Pathfinder Stainless Steel (material) Canteen vs the Pathfinder Stainless Steel (material) Water Bottle Kits. When it comes to the Stainless Steel canteen and Stainless Steel water bottle kits there is a lot of features that are similar such as the stainless steel material but there are a lot of things that are different.
Stainless Steel Water Bottle – https://www.selfrelianceoutfitters.com 

Stainless Steel Canteen – https://www.selfrelianceoutfitters.com

Check out the 5C’s of survival==> https://www.wolfpackwoodcraft.com/5-c-survival-kit Continue reading →

google.com, pub-7066259607393589, DIRECT, f08c47fec0942fa0